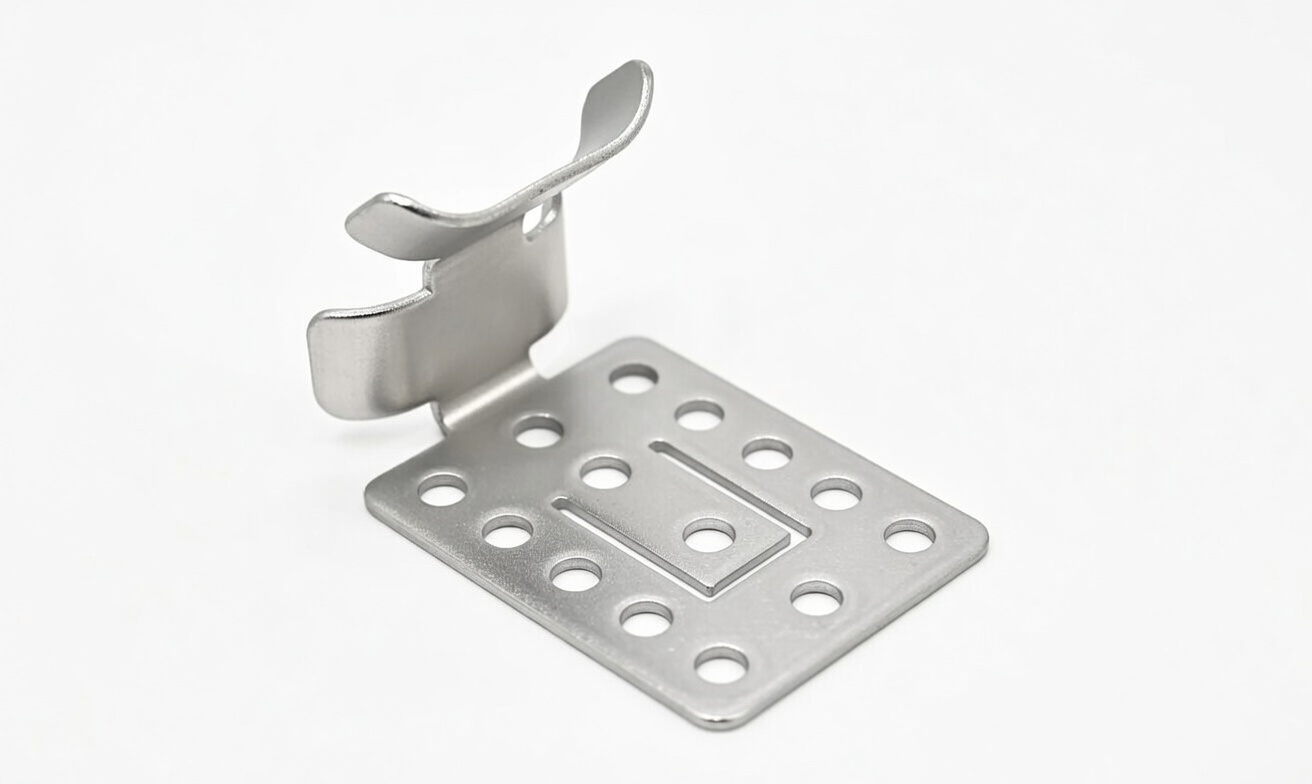
Roof Heat Cable Clips -10 Pack
Product Overview
Roof heat cable clips are designed to securely fasten...
$18.50
- $250.00
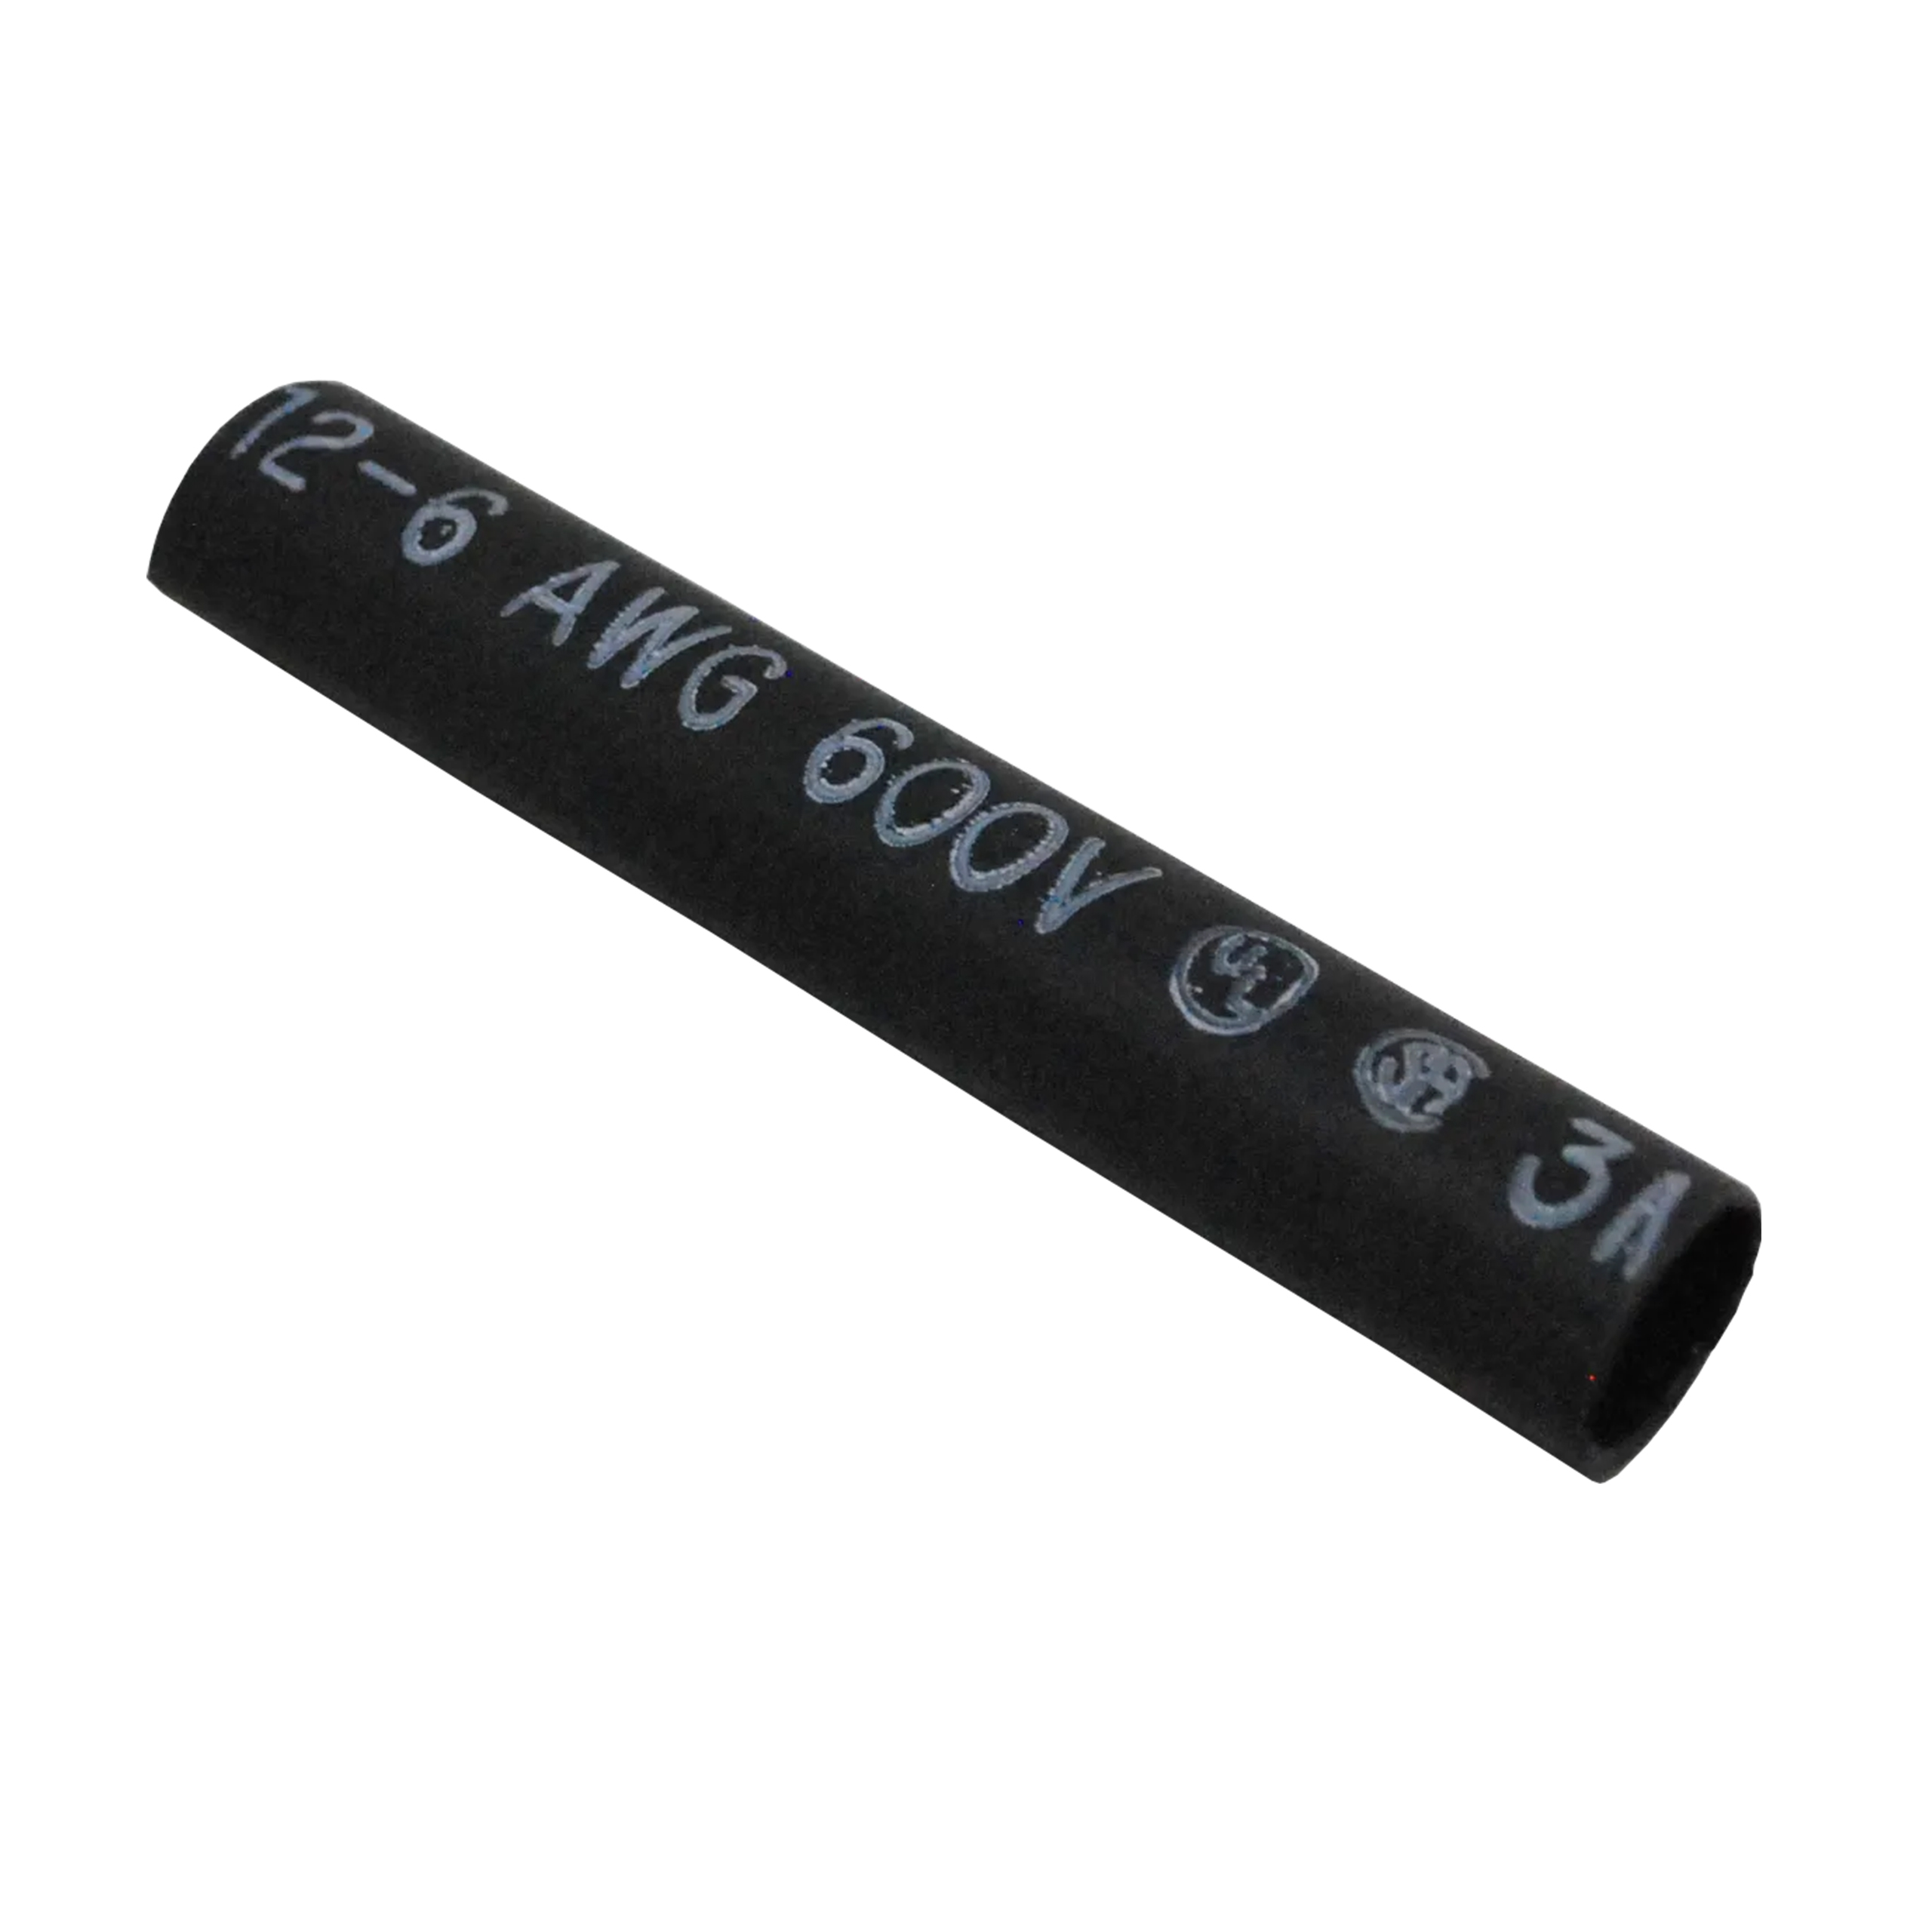
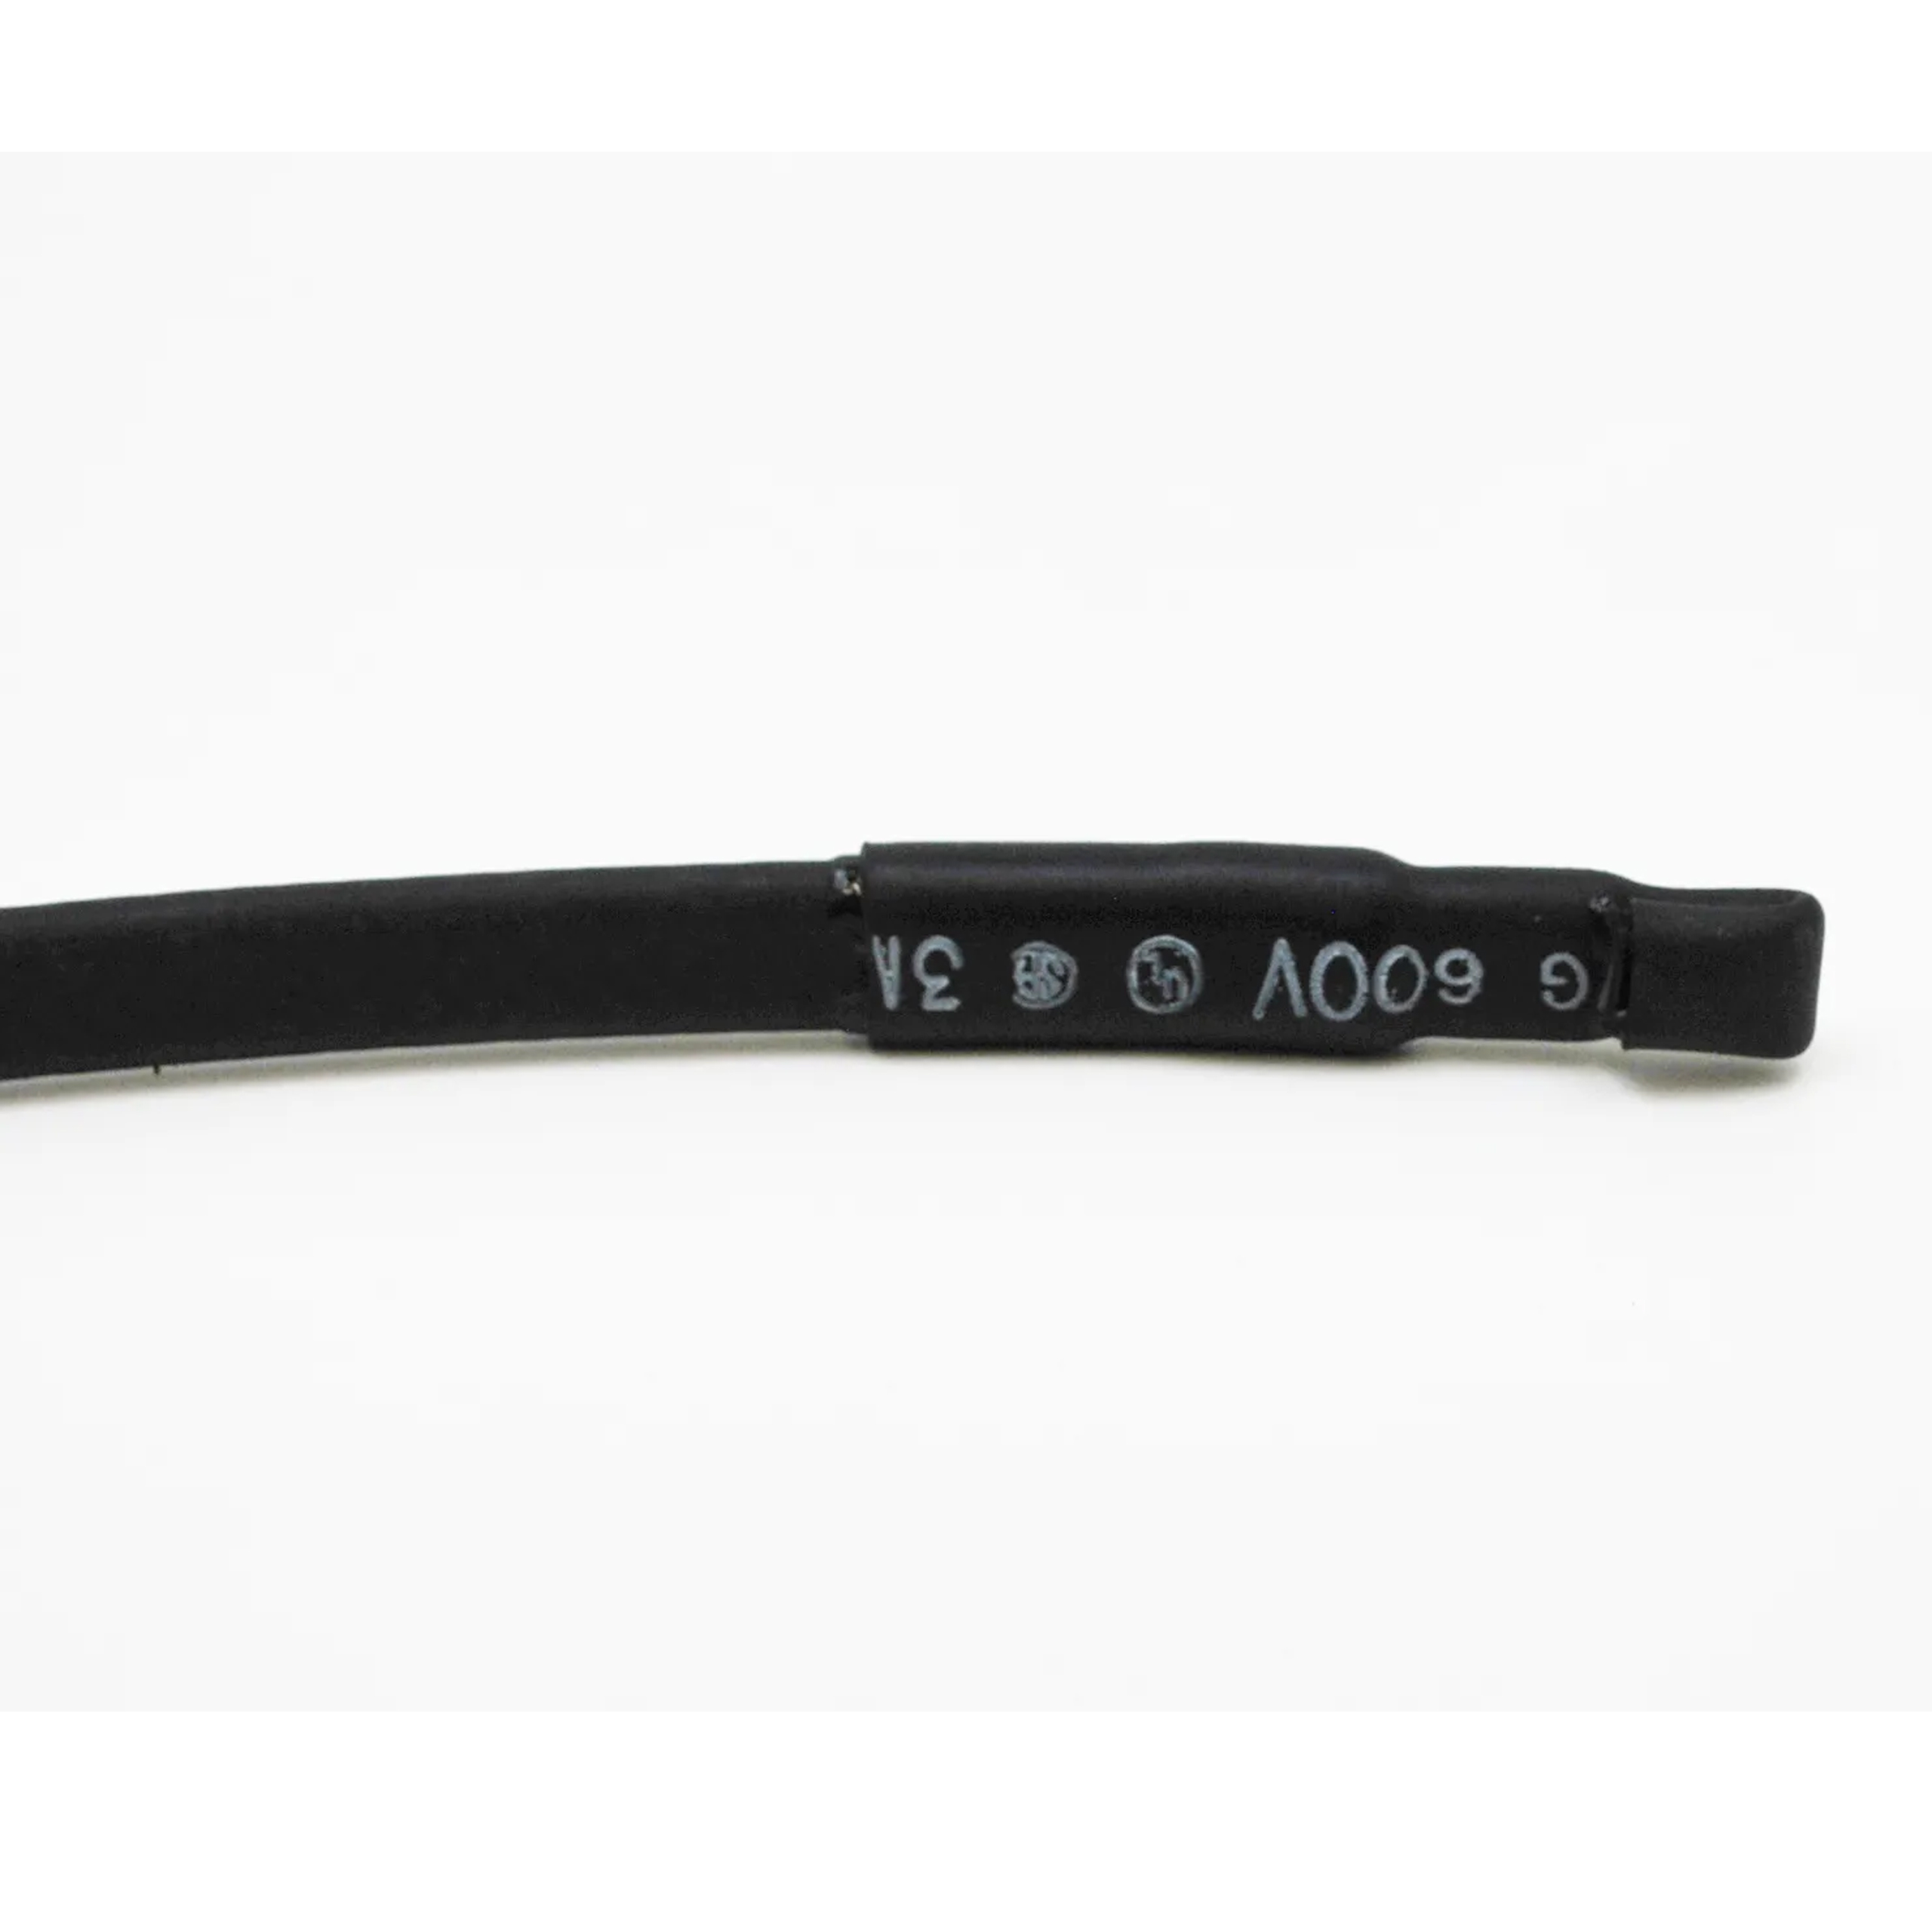
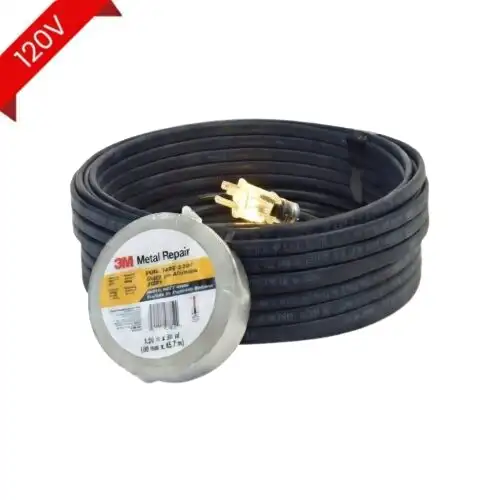
Product Specifications:
Ground Fault Trip Rating - 30mA
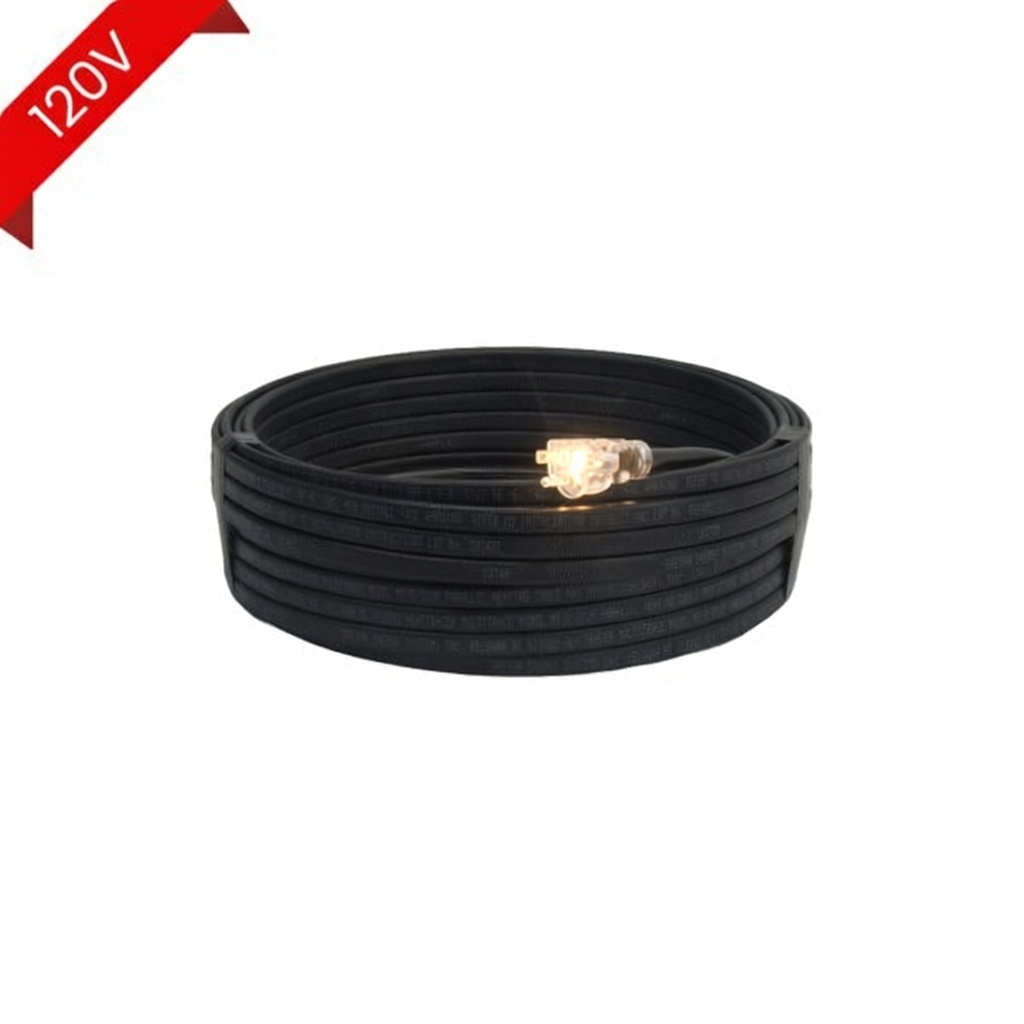
Plug Type - 120V
Amperage - 15 to 30 amps
Max operating temperature - 150 degree...
$99.95
- $1,044.95
Product Specifications:
Ground Fault Trip Rating - 30mA
Plug Type - 120V
Amperage - 15 to 30 amps
Max operating temperature - 150 degree...
$99.95
- $1,044.95
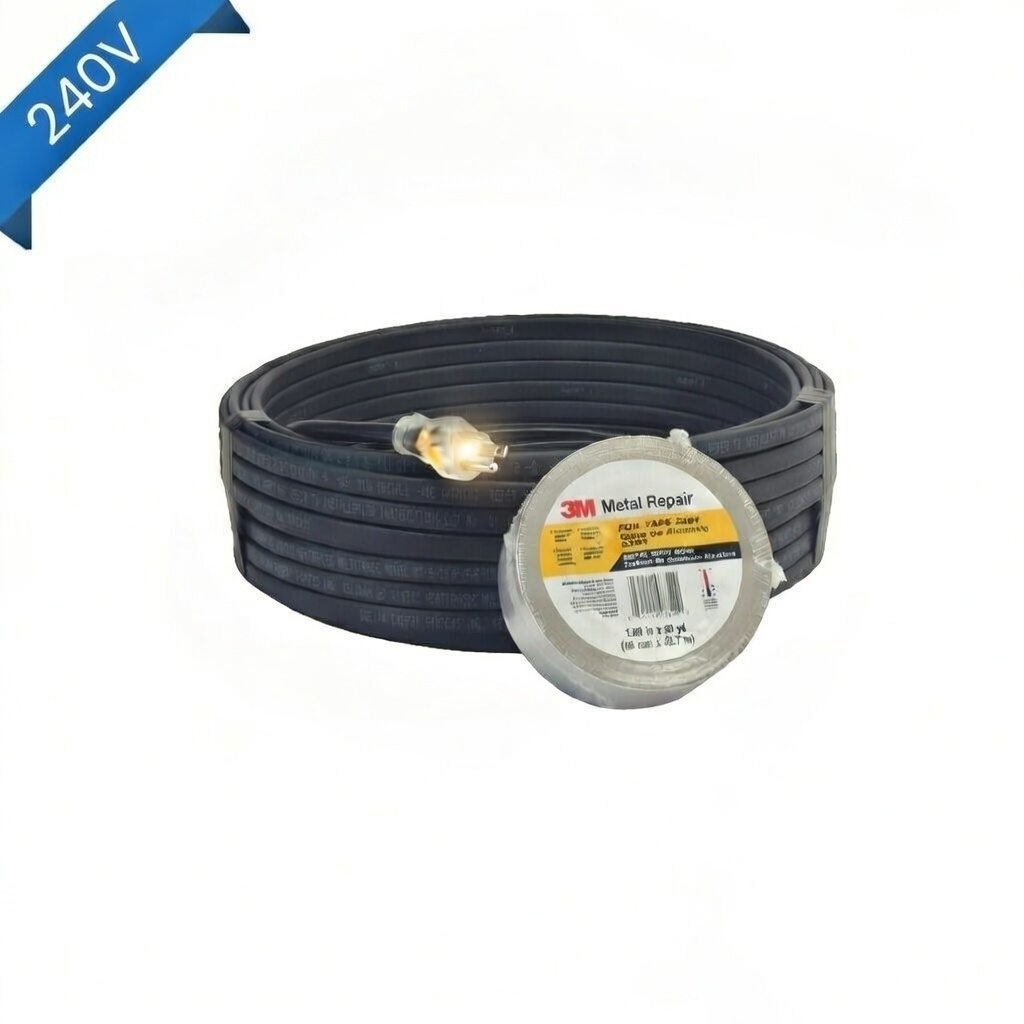
Product Specifications:
Ground Fault Trip Rating - 30mA
Plug Type - 6-20P 208v-277v
Amperage - 15 to 30 amps
Max operating temperature -...
$109.95
- $1,064.95